Building LARP props & weapons
Starting points for boffer weapons and EVA foam armour — how they are built, and why the safety table, not the tutorial, is what decides whether yours passes.
Prop & Weapon Crafting in the LARP Realm collects starting points for building safe, good-looking gear — the shape of a boffer build and a foam armour build, written down so you are not reverse-engineering one from a video at midnight.
Your group's safety standard is the real spec
A boffer weapon, in outline
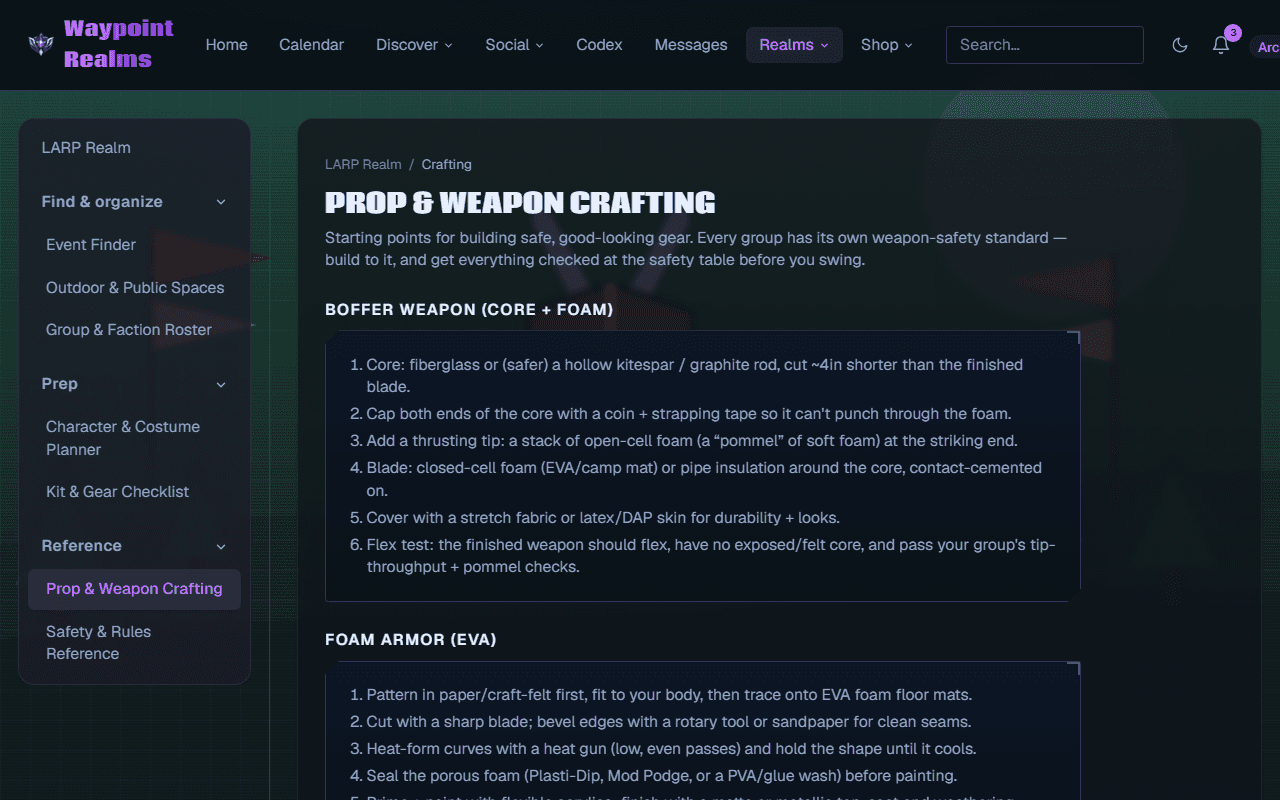
The reference walks the full build; the shape of it is: a core (fiberglass, or a safer hollow kitespar/graphite rod) cut shorter than the finished blade, both ends capped so the core cannot punch through, a soft open-cell thrusting tip, closed-cell foam or pipe insulation for the blade, and a stretch fabric or latex skin for durability and looks.
Then the part that matters: the flex test. The finished weapon should flex, show no exposed core, and pass your group's tip-throughput and pommel checks.
Foam armour
EVA armour follows the cosplay route: pattern in paper or craft felt first and fit it to your body, trace onto EVA floor mats, cut with a sharp blade, bevel the edges, heat-form the curves with a heat gun in low even passes, then seal the porous foam before painting.
Pattern it digitally first
Before you take it to an event
Put your finished gear on the kit checklist so you do not arrive without it, and read the safety calls so you know how play stops if something goes wrong with it.
Still stuck? Browse all help or contact us. To report someone or something, use the report action on the relevant profile, post, or session — it sends us the context automatically.