
Costume Forge: wearing the pieces together
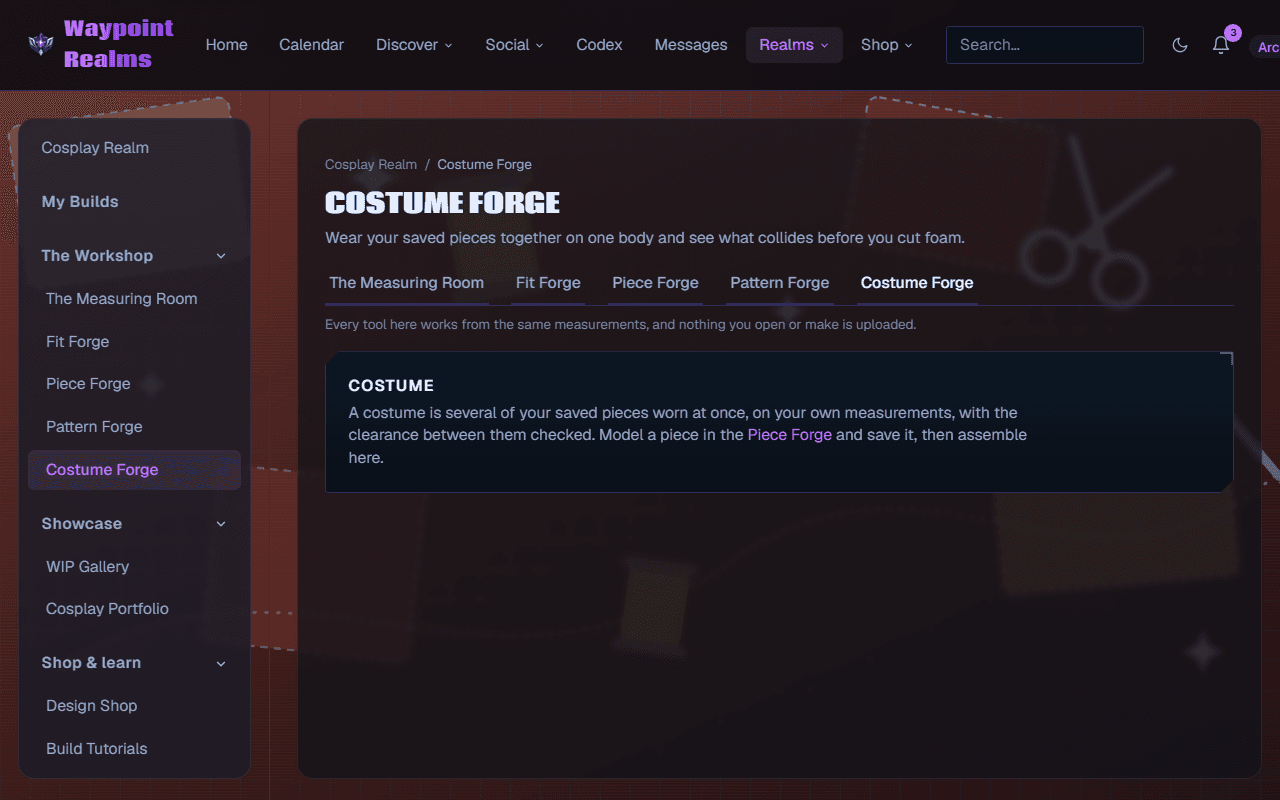
Put your saved pieces on one body at once and find out what collides — where a chestplate fouls a helmet, or two pieces sit too close — before you cut foam.
On this page
Pieces that each fit perfectly on their own can still be unwearable together. A chestplate that clears your torso can foul the helmet's lower edge; two plates that each look right can overlap where they meet. Costume Forge is where you find that out on screen rather than after a weekend of cutting foam.
How it works
Model and save your pieces
Costume Forge assembles what you have already made. Model each piece in Piece Forge and save it — a helmet, a torso, a pauldron, a vambrace, a greave. A costume holds up to eight.Or bring in a downloaded model
Add a downloaded model (Wear a downloaded model on the empty screen) takes an STL, OBJ, 3MF or glTF — a helmet off a model site, say — and wears it beside the pieces you made. Say what it is, and it goes where that piece goes: a helmet's widest inside where your head is widest, a breastplate at your chest, a vambrace on your forearm. Which way up is guessed from the shape; if it's wrong, open the piece and change Up along or tick Turn over. Set the scale you'll print at, or, if you fitted it in Fit Forge, choose that fit and load the original file. The file is read on your device and never uploaded: a saved costume remembers how the model is worn and asks you to load it again next time.Wear them together
Add pieces from your library. They stand on a body built from the measurement profile you choose in the Measuring Room, so the clearances are yours. With no profile it is an average adult. The body card says which numbers are yours and which are averages, with a link to measure the missing ones. A pauldron, vambrace, bracer or greave goes on the right or the left — add it twice for a pair — and a prop can be held in either hand or centred.Read the collisions
The check runs on every change. A Clash is two pieces overlapping; a Tight is a gap smaller than the Clearance you set — 1.0 cm to start, from 0 to 10 cm. Each one is marked on the body; Collisions on the toolbar labels them all. Pieces that rest against each other at a joint, like an arm against the torso, are listed apart and left for you to judge by eye.Fix it
The fix it card takes the worst clash — the pose's when you're posed, otherwise standing — and offers up to two of the smallest moves that clear it, named after your own pieces: Lift Ridgeback pauldron (R) 1.4 cm, Lower Plated vambrace (R) 4.8 cm. Each was tried before it was offered, so pressing it does clear that clash, though it can bring a piece up against another. A fix moves that one piece, not its pair. Where cutting a piece would do better than moving it, the card says how much to trim from which end — in Piece Forge for a piece you made, or in your own 3D software for a downloaded one. When no nudge can part two pieces, it says that instead.Move a piece
Select a piece to nudge it outward or across, up, and forward — type the numbers or drag it in the scene. Hold Shift while dragging, or keep Move pairs together on, and a left and right pair moves as a mirror image. To change a shape, use Edit in Piece Forge › on the piece.Move in it
Under Move, or the pose menu on the toolbar, bend the body to Arms up, Arms forward (elbows bent, as when you hold a prop), Seated or Crouching. Each piece rides the limb it's worn on — a vambrace turns with the forearm, greaves with the shin — and a pauldron tips part of the way up as the arm rises. Anything the pose runs into is listed and marked. A piece that reaches past a joint gets in that joint's way: a vambrace up over the elbow is fine with the arm straight and stops the elbow bending, and the list says roughly how much would have to come off its end. Check each joint bends the shoulders, elbows, hips and knees one at a time, from standing to their full range, and says how far each gets and what stops it. Dragging a piece works standing only; in a pose, type its numbers instead, or go back to Standing.
Linking a costume to a build
Choose a build under For build when you save, or arrive from Assemble in Costume Forge › on a build in My Builds. The build then lists the costume, with the date it was last saved, beside the pieces and progress photos — what you intended beside what you actually made.
Was this helpful?