
For EveryoneUpdated Oct 12, 20263 min read
Building LARP props & weapons
Step-by-step guides, with diagrams, for a boffer weapon, EVA foam armour and props — and why the safety table, not the guide, decides whether yours passes.
On this page
Prop & Weapon Crafting in the LARP Realm collects starting points for building safe, good-looking gear. This article carries the same guides and diagrams as the page, so you can read them away from it.
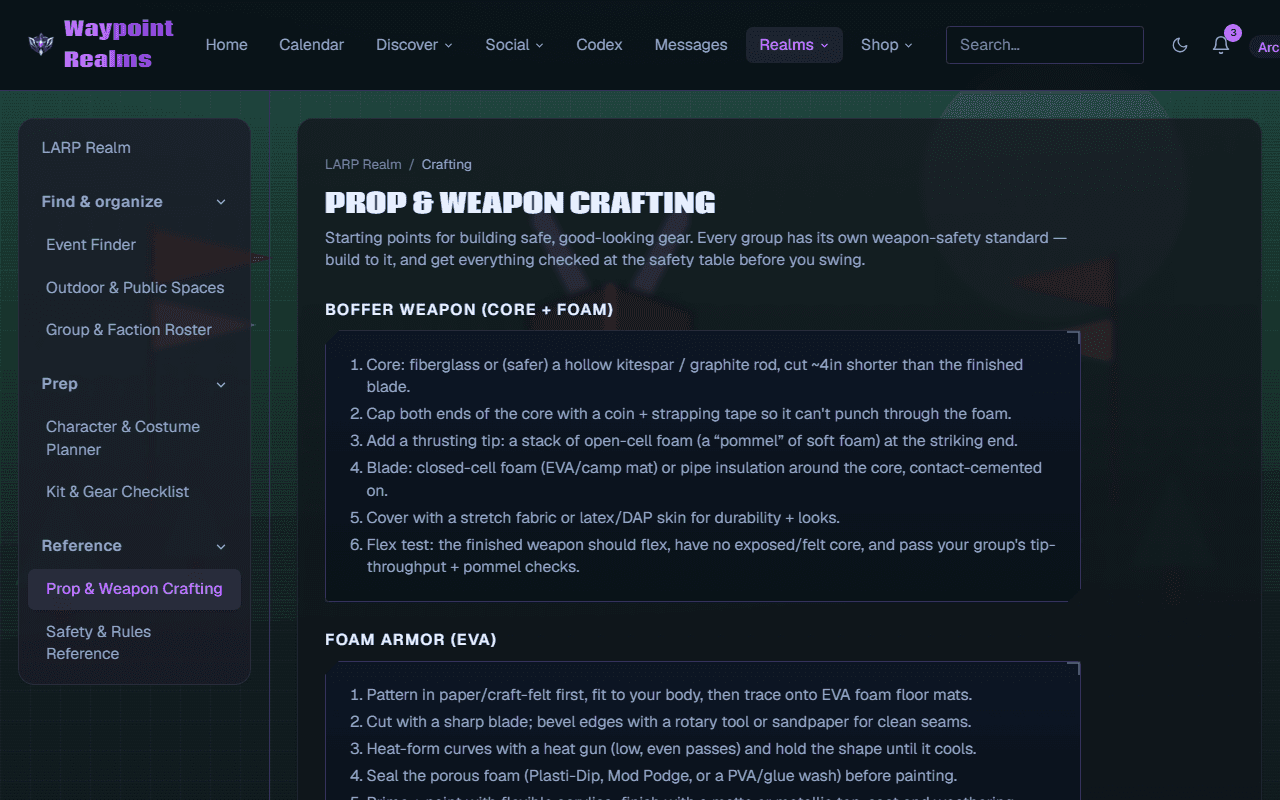
Boffer weapon (core + foam)
- Core: fiberglass or (safer) a hollow kitespar / graphite rod, cut ~4in shorter than the finished weapon (it runs through the grip).
- Cap both ends of the core with a coin + strapping tape so it can't punch through the foam.
- Add a thrusting tip: a thick pad of open-cell (soft) foam past the capped core at the point; the pommel (handle end) gets its own padding.
- Blade: closed-cell foam (EVA/camp mat) or pipe insulation around the core, contact-cemented on.
- Cover with a stretch fabric or latex/DAP skin for durability + looks.
- Flex test: the finished weapon should flex, have no exposed/felt core, and pass your group's tip-throughput + pommel checks.
Foam armor (EVA)
- Pattern in paper/craft-felt first, fit to your body, then trace onto EVA foam floor mats.
- Cut with a sharp blade; bevel edges with a rotary tool or sandpaper for clean seams.
- Heat-form curves with a heat gun (low, even passes) and hold the shape until it cools.
- Seal the porous foam (Plasti-Dip, Mod Podge, or a PVA/glue wash) before painting.
- Prime + paint with flexible acrylics; finish with a matte or metallic top-coat and weathering.
- Strap with elastic + quick-release buckles so it's comfortable over a long event.
Props & accessories
- Grimoires/scrolls: age paper with tea/coffee, singe edges safely, bind in a cloth or leather cover.
- Potions: thrift-store bottles + colored water/resin; label in-world and seal so they don't leak in your pack.
- Pouches & belts: leather or faux-leather with rivets; keep a hidden modern pocket for phone/keys/meds.
- Lighting: warm LED tea-lights instead of open flame at wooded sites.
Safety first
- No exposed hard cores — ever. If you can feel the core through the foam, it fails.
- Build to your game’s published weapon standard, not a video’s.
- Re-inspect after every event; foam compresses and tips wear through.
Before you take it to an event
Put your finished gear on the kit checklist so you don't arrive without it, and read the safety calls so you know how play stops if something goes wrong with it. General guidance only — your event's weapon-check and safety rules are the final word.
Was this helpful?